
Author: Karen Petrie, School of Science and Engineering
Goal:
The goal of this recipe is to present resources to students in a way that is meaningful to them
Outline:
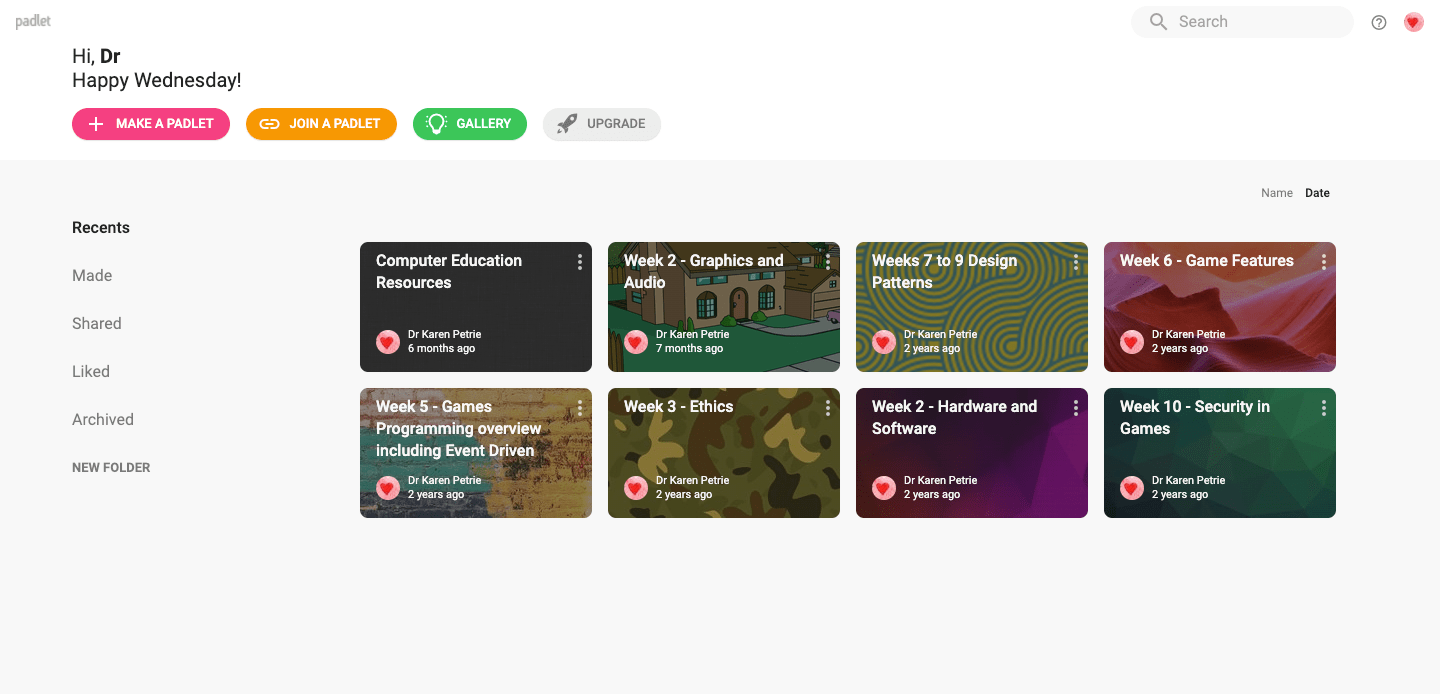
Often in teaching you are aware of a large number of resources that students could use within their learning. It can be hard to find a way to present these in an online way that makes them easy to navigate and that students can interact with. Padlet, provides a way to present these resources as a message board that students can interact with.
Ingredients:
- A number of internet resources you wish to share with students
- A Padlet account
Preparation:
Before you begin you need to set-up a Padlet account by following the instructions from our service guides here.
You should also have the resources you wish to share with students. A list of URLs stored in something like word is fine. This will take a variable amount of time, depending on how many resources you wish to share.
Delivery:
- Access Padlet
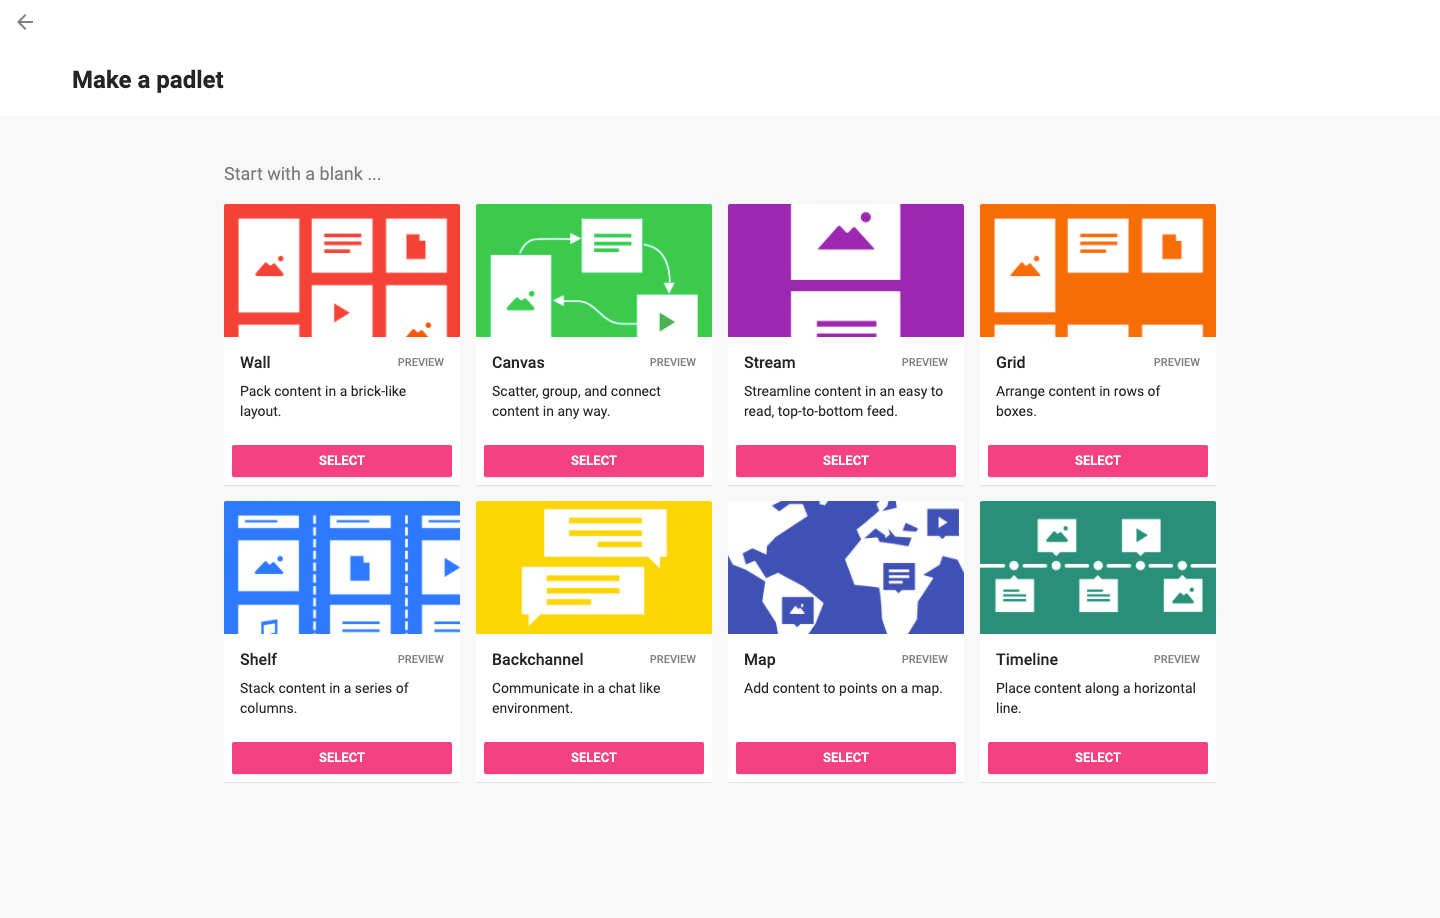
- Click the + Make a Padlet link in the top right corner.
- Decide how you wish to organise your content. I tend to use a stack, as it allows me to organise content in columns:
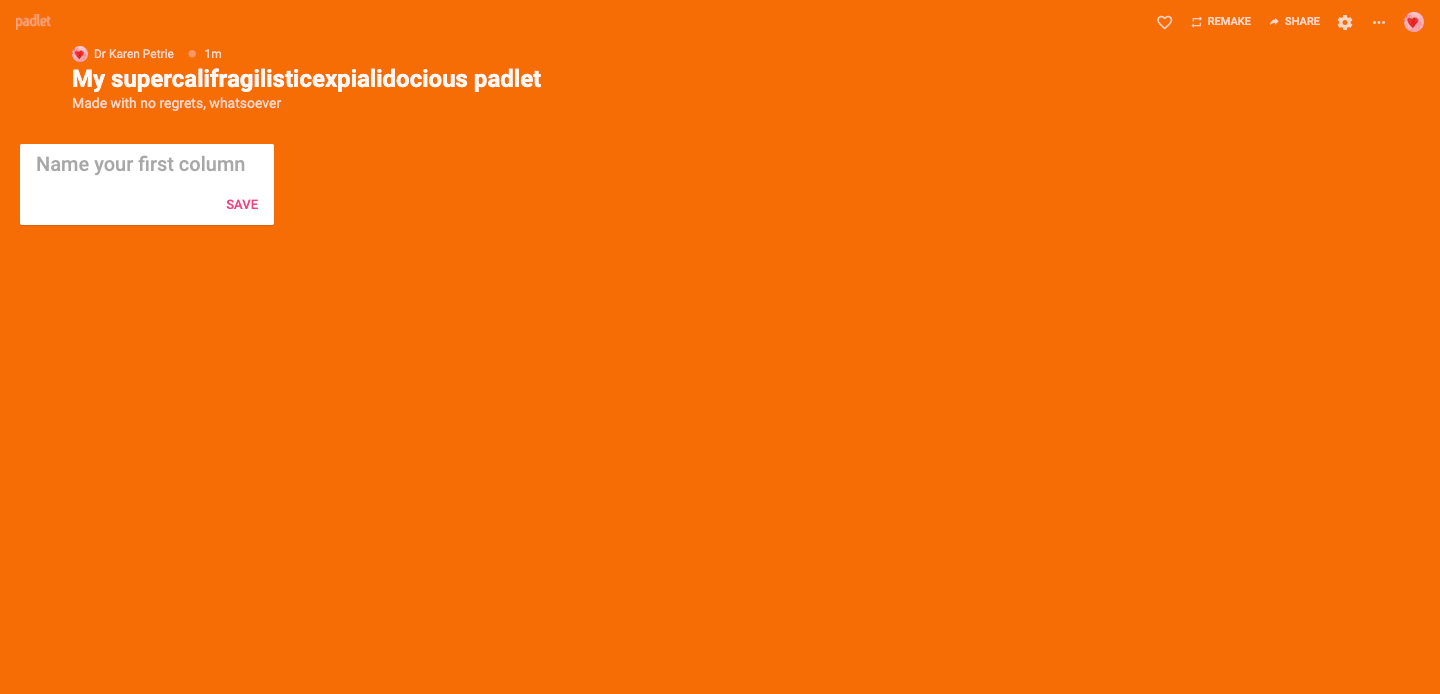
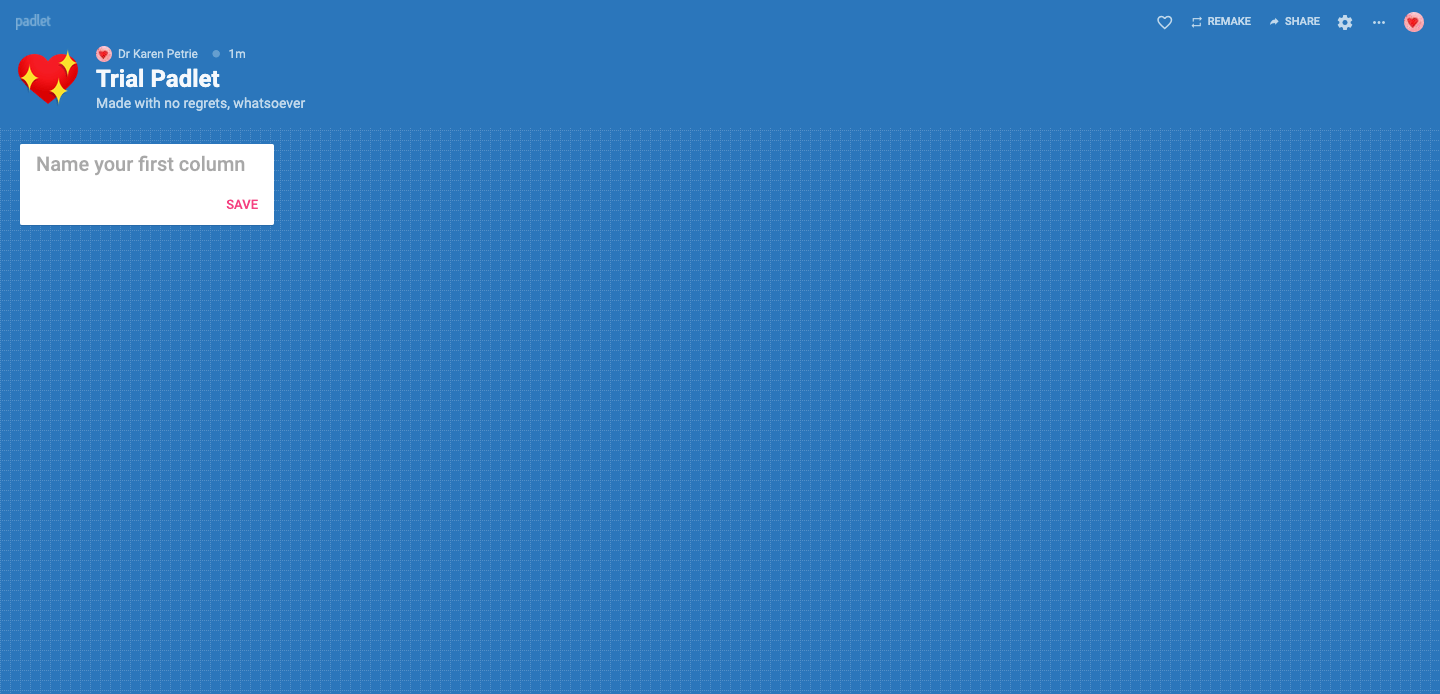
- Click on the Cog (top right) to rename your Padlet
- Choose an appearance for your Padlet by clicking Wallpaper, you will find colours, textures and pictures available.
- Then decide if you want students to be able to comment on your posts or to react (such as upvote). I usually turn both on so it is an interactive experience. Remember to click save (top right) before closing the menu.
- Now you are ready to start adding your content.
- The first thing to do is to think about what headings you are going to use to organise the content.
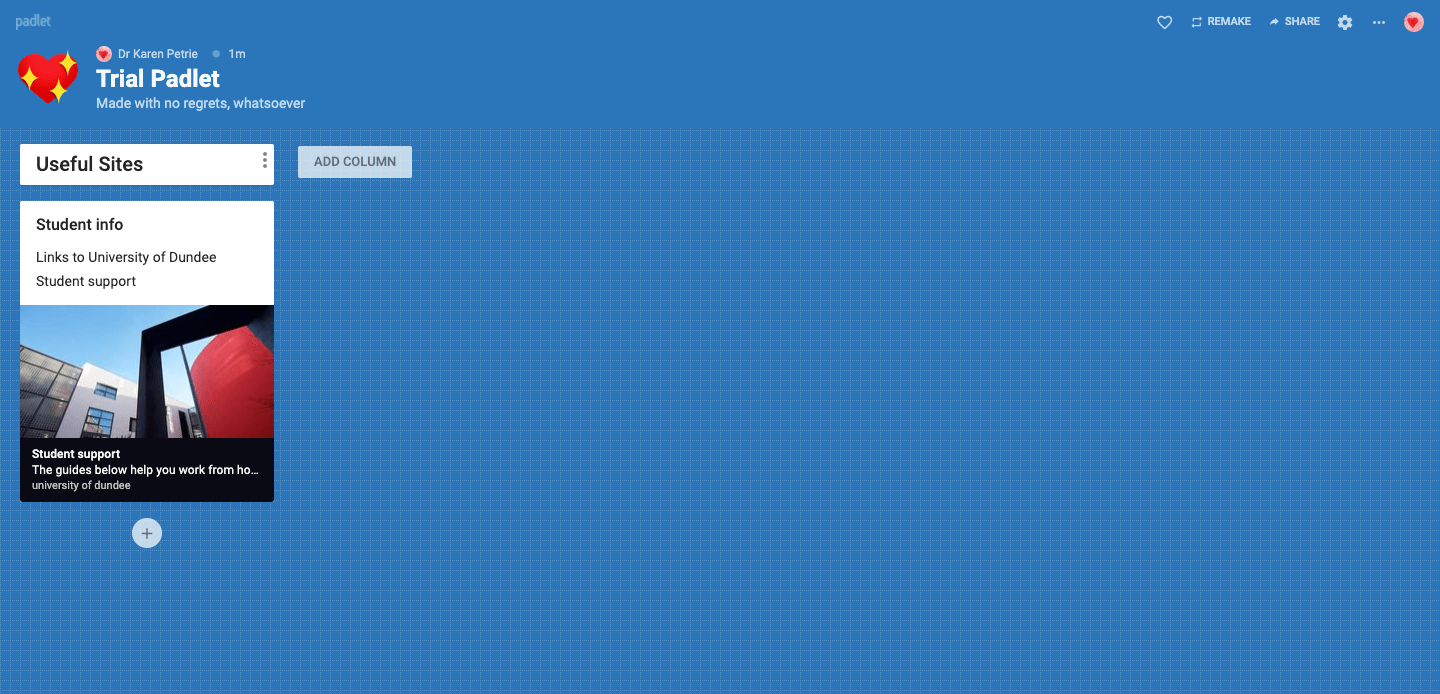
- Click Name your first column and add your first title.
- If you want more than one column just click the ‘Add Column’ button to the right of your last added column.

- Now comes the exciting part adding content.
- To add content to a column press the + button under the column.
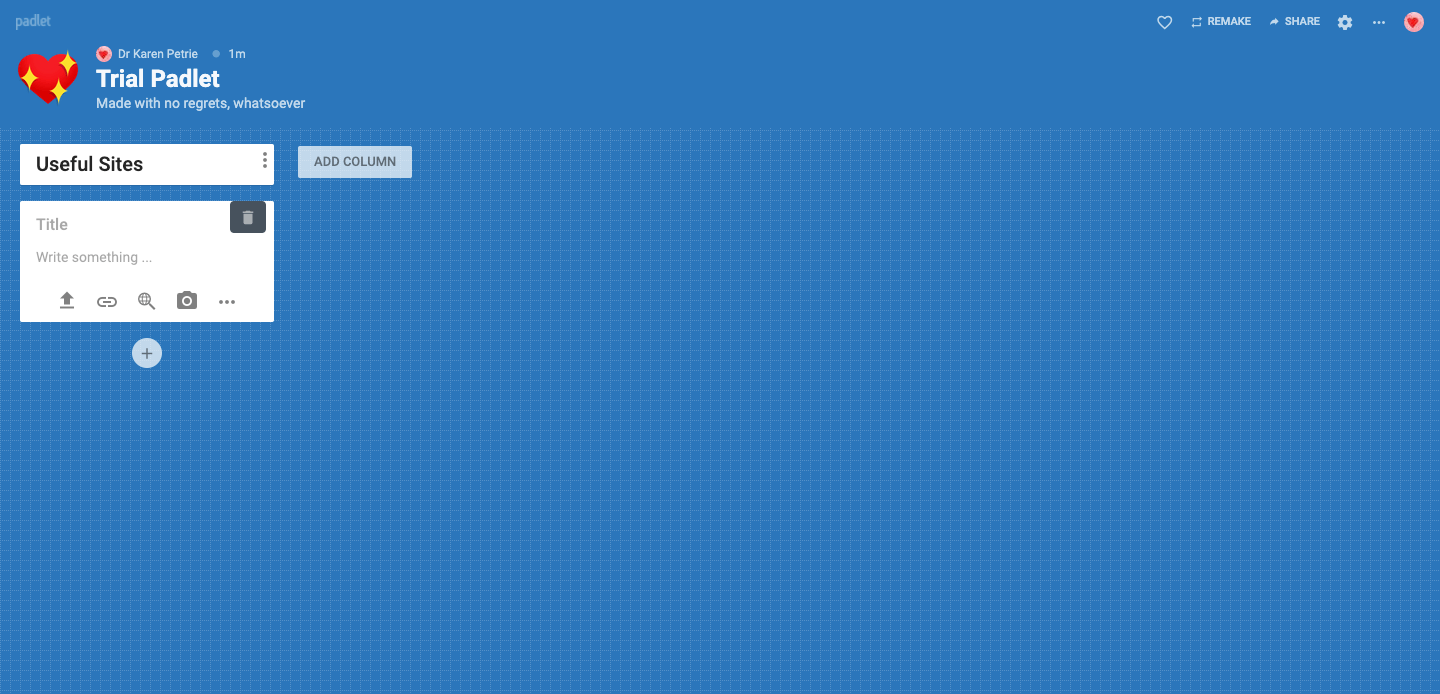
- You can give your content a title and write something about it.
- Then you get to add the content. This can be:
- A file uploaded from your computer
- A link to a website
- You can search google for content
- A picture
- A film
- A voice recording
- A recording of your screen
- A doodle you have drawn on the screen
- A link to a map location
- A link to another padlet.
To get all these options press the 3 ellipses in the bottom right of your post.
-
I tend to mainly use URLs. There is a shortcut to do that which is to press the bottom button that looks like an oblong with a line in the middle. That opens a box for you to save your URL.
-
Repeat these steps until you have all your content collated.
-
When you are finished creating your padlet click the share button (top right) to share it with your students. There are lots of ways to do this. I find this easiest way is to copy a weblink to it in to my clipboard. I can them embed that link on My Dundee.
Follow-up:
You can keep an eye on the Padlet to see how students are interacting with it. Do they have comments on the content, you should address or perhaps they have upvoted one piece of content and you want to discuss why?
Taking it further:
Use a blend of different media to really create an interactive experience or get students to create their own.
Example:
I used this in my ‘Teach Computing’ module, which is a module that sees Computing students go out to teach in schools. I used it to share with the students all the materials they may require to create a lesson plan. It contains, files, videos and URLs. You can explore this padlet at: https://padlet.com/k_petrie/crd26yixpxbh
Useful guide, given me ideas for use to promote learning technology and study skill. I like it is more dynamic and interactive than leaflet/booklet/webpge