Introduction
The videos that you create will have an impact on your students learning. The COVID pandemic has changed the way a lot of videos for education have been recorded. Pre-pandemic, our work with the digital media team, we had the opportunity and luxury of working directly with academics, walking them through the creation process. We would then plan, shoot, and edit your educational video for you. However there has now been a shift from using high-end kit and software to using inbuilt cameras and mics with video conferencing software and presentation software to record content.
This adoption of accessible technology allows a shift to the ‘give it a go yourself’ approach and is something that the CTIL team love about our academic community at the University of Dundee.
You may not have a great deal of experience in recording content and feel a certain amount of anxiety about undertaking a video project, however, we can help by showing you common pitfalls to avoid and give you quick pointers to help you create the most effective content you can – without taking up more of your valuable time. This is also an opportunity to build on the experience that you have built up during the pandemic by utilising and improving what you have learned so far.
This section will focus on evidence-based practises that will help make your videos more effective and engaging learning resources.
Proviso – we can all point at examples of people not doing the ‘correct thing’ but still making great content so please see these tips and guides as exactly that – a guide. Feel free to experiment to suit your style.
Level of Quality
As mentioned in the introduction academics do not tend to have access to the best production equipment, such as professional lighting, visual effects, props, professional backdrops, and high-end audio. The good news, however, is that, except for the audio, a high level of production does not impact greatly on the learning experience. We want to focus on what will give you the best return, from an educational standpoint, when recording content. A low budget does not necessarily equate to a low-quality video.
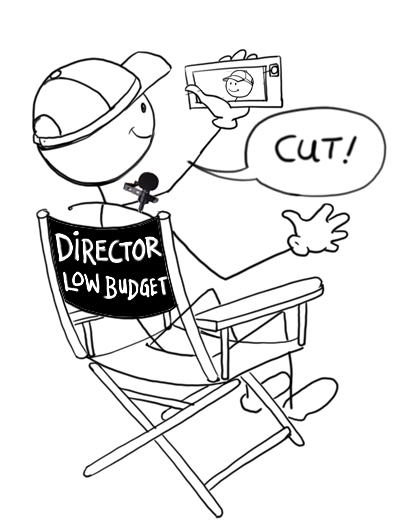
…only audio quality has any effect on learning. Background noise, hiss and other audio imperfections are very distracting and increase cognitive load. Other aspects of production that make videos appear ‘professional’ have almost no impact on learning. The lesson here can be summarised as “the biggest gain is in going from no video to having a video”. There is some research to support this. A study showed that adding videos to medical professionals’ profile pages increased visitor satisfaction over those with text only but there was no difference when the production value was increased.
From the paper Creating and using instructional videos in university teaching: Answers to common questions – By Dominik Lukes:
Top tips:
- Focus on sound as a priority
- Eye level with camera
- Natural as possible
- Reduce cognitive load
- Clear simple background
- Visuals are clear, legible and needed
- Face lighting source
Audio settings
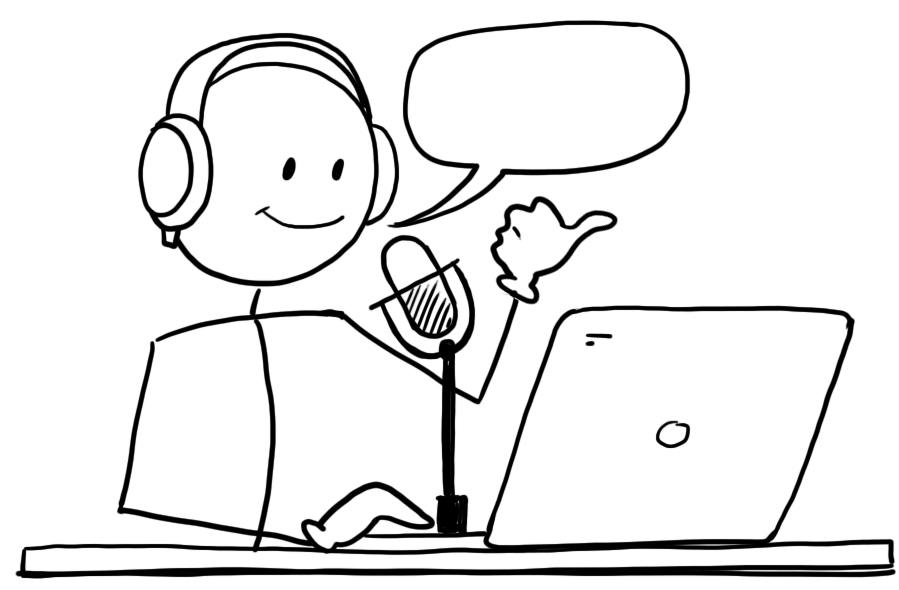
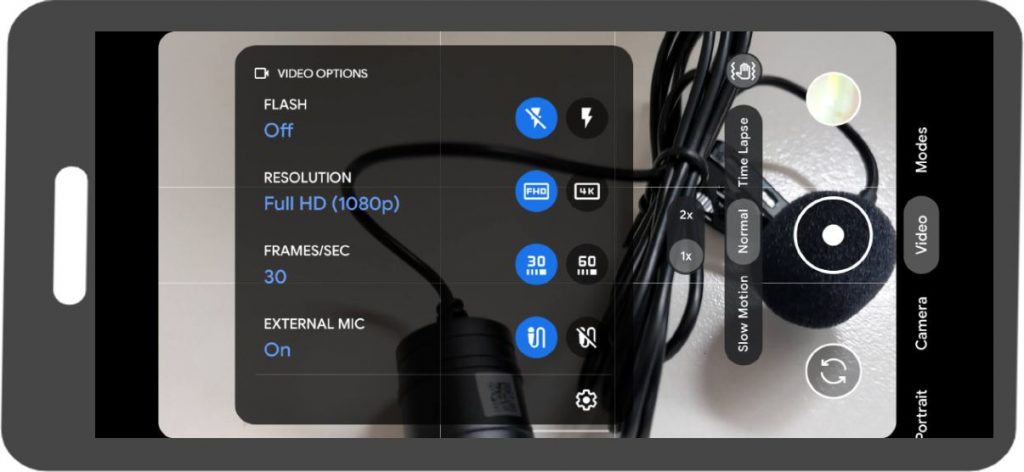
Capture at the best audio quality that you can, this is essential for both the learning and in turn the accessibility of the recording, as the quality of the recording directly impacts the accuracy of automatic speech recognition ASR. Once audio is recorded it is very hard and time-consuming to edit out additional noises. Therefore, look for a quiet place to record, pay attention to any potential background noise, such as a hum or hiss that might be present in the room, also turn off any notifications from devices in the room. Where possible, use a dedicated mic, such as a headset mic, low-cost lapel mic or a desk USB mic. Video clips of recording with and without a £6 lapel mic:
Some tips from JISC Video captioning and accessibility regulations: https://www.jisc.ac.uk/guides/video-captioning-and-accessibility-regulations Here are some tips sourced from the Jisc accessibility community:
“Always use a mic. Wired is more reliable than Bluetooth.”
“Do a test recording before session to check the quality.”
“Minimise background noise. This can be as simple as closing the door to your office.”
“Use the full version of abbreviations and acronyms – this is good practice anyway, but ASR often struggles with these eg for WCAG (Web Content Accessibility Guidelines)…”
“Speak at a steady pace. Many students will appreciate this too e.g. English not as first language speakers; those with language processing difficulties or difficulties with focusing…”
Camera settings
Depending on the device, often the default setting will be of a good enough quality for educational purposes. Check if your device allows you to record on one of the highest settings (1080HD for example). This will ensure that you start with the best quality that you can, and it also gives you the opportunity to zoom in when editing if you want the student to focus on a particular part.
Camera Position
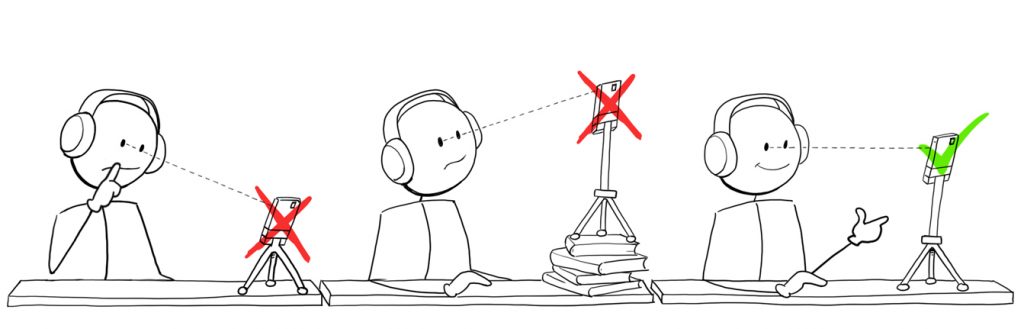
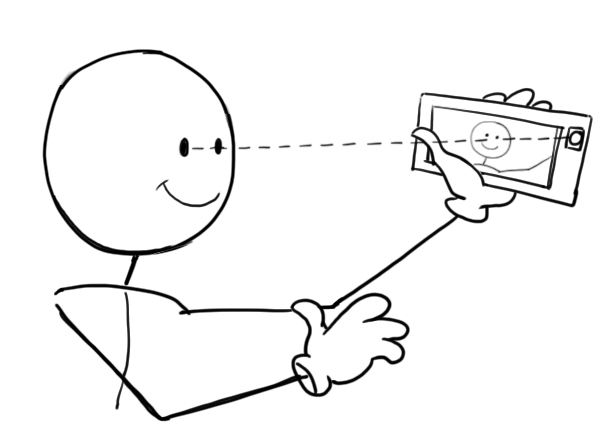
Using multiple camera angles and different levels of zoom is a common feature of YouTube videos. However, this is not necessary for educational recordings. Making a direct connection with the learner is more important, you don’t want to be looking down or up at the student since this sends signals of an unbalanced power relationship. To help foster this connection and level relationship, that is so important in university education, it is best to look directly at the student. This means looking at the camera lens (sometimes they are hard to spot on camera phones) and having the lens positioned at eye level. This may not always be possible and it might not be essential or advantageous to have your face on camera, but when you do if you could increase the amount of time that you look into the camera it will help build your relationship with your students.
Lighting
Lighting has an impact on the mood of the recording as well as an impact on the accessibility of the recording, some viewers may need to clearly see the lips of the presenter to help reinforce what is being said. The clarity and mood can also be impacted positively or negatively with lighting.
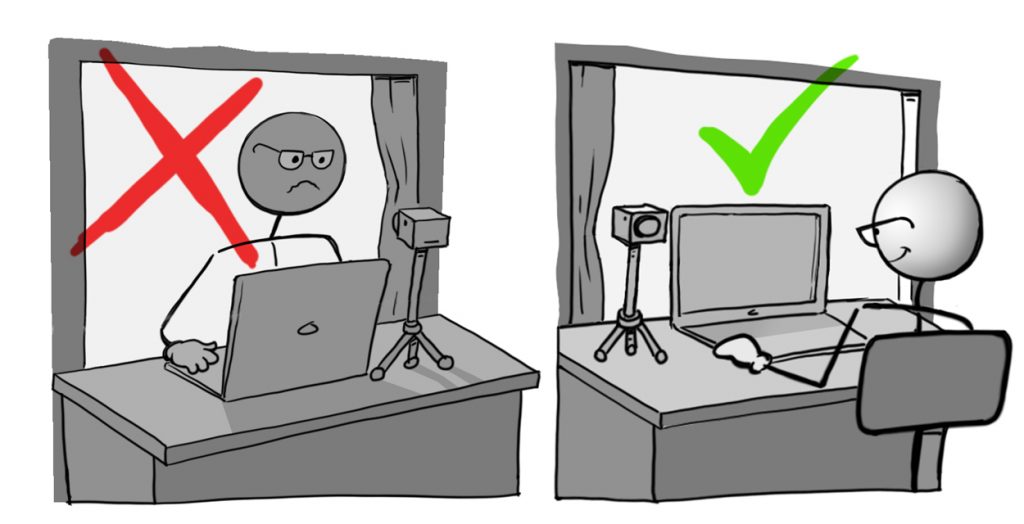
Ideally, it is best to face a natural light source such as a window, if this is not possible still focus on the principle of having the light source in front of you as best as you can. It is also worth considering turning down the brightness of your laptop/screen since as this can washout the image, particularly if you don’t have supporting lighting.
Exercise – Recording with your phone
Using some of the tips that you picked up during this learning X you might want to experiment and see if you can put any of the tips into practise. Below is a link to a Miro board that has some additional tips on recording specifically with a mobile phone, please feel free to use this and share with your students if it’s useful: Miro Board – Mobile video workshop
Brief
The brief is simple, pick an object in your room and tell us about it.
- 30 – 60 seconds
- Focus on sound, able to hear the presenter
- Have the object and subject in the frame
- Think of camera position
- Think about lighting
- Self-critique the video
- Bonus points: Upload to YuJa and share the video link in the chat.
My effort:
Self-Critique:
- Sound and lighting are good.
- Natural no script needed in this situation
- A bit far from the subject
- Not at a good eye line
- Busy background
- The door is open in shot (cropped out in edit)
