Introduction
Before you start recording you will need to plan and organise everything that will be needed for your video. Professional videographers call this planning ‘pre-production’. A typical approach to pre-production planning is to lay out all the elements of your video into a visual structure so that you can work out how the various ‘pieces’ fit. This is the storyboarding process and will often be aided with a video script. A large part of the process will be concentrated on sequencing supporting teaching material with recorded footage. For example, you may want to introduce a diagram or short clip at a certain point when talking to the camera. This is known as the cut away or B-roll. The B-roll is essentially all your teaching material – all the material that is additional to the main footage, such as intro logos, titles and chapter headings, slides, short clips, illustrations, diagrams, infographics, animation and so on. The B-roll is planned for with the storyboard and script and then added to the video at the editing stage. It is therefore crucial to have all the teaching material video ready and storyboarded so that it can be integrated seamlessly into the video timeline. For a simple video you may only need to refer to a teaching material list and notes. However, for a more complicated video, a storyboard will help with the planning and development of your ideas.
Storyboards
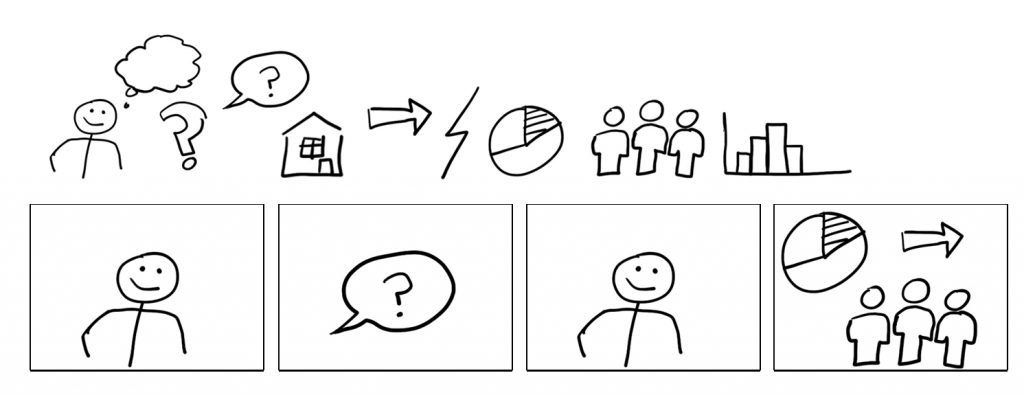
A good storyboard is about how well you convey your ideas, and not about how well you draw. For example, simple stick figures and symbols such as arrows are excellent shorthand for communicating ideas and instructions. This type of drawing is similar to visual note taking and has the advantage that it is quick and functional and, crucially, easy for editing and revising ideas.
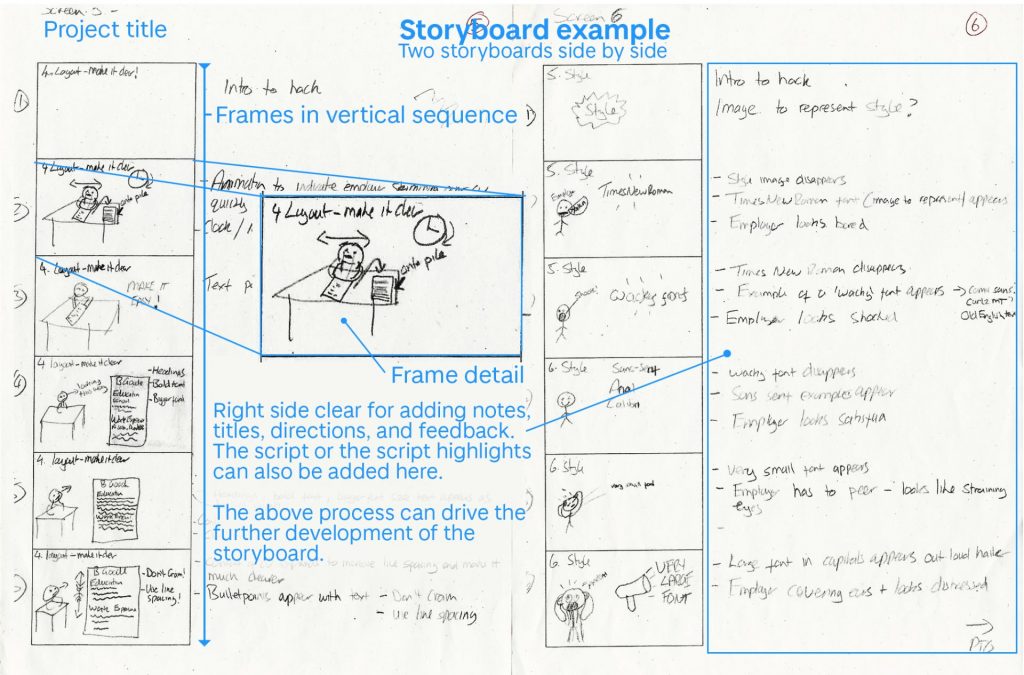
“When setting out on the project to make an animated video I had a fairly clear idea in my head of what I wanted it to look like – but when collaborating with the team to drive the project forward it could be difficult to communicate those ideas clearly! I found using storyboards a highly effective way to communicate these ideas – drawing out simple matchstick figures for the storyboard was a simple and effective way of doing this. Andrew could then take these and produce a more graphically detailed storyboard – giving us a clear vison of what the project would look like as we progressed. Ultimately this approach provided clarity throughout, streamlined the collaboration and saved us valuable time on project delivery.”
Stephen Watt – Student Services
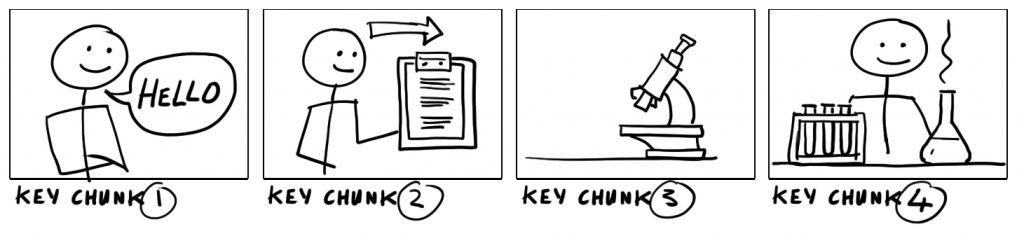
The storyboard gives you a picture, a visual representation, which allows you to manipulate – edit- your video content and structure in sequential order. You will see the timing and how it is structured into sections. The sections may be too long in places and too short in other areas. A longer section may, however, work better if it is broken down into two sections or chapters. Breaking down learning content in this way, into more accessible, shorter ‘chunks’, is a technique known as chunking, which brings us to the related technique of the Segmenting Principle. The Segmenting Principle states that humans learn best when information is presented in segments, rather than one long continuous stream. Mayer found that when learners can control the pace of their learning, they performed better on recall tests. We will develop this subject in more detail in our section on Engagement.
While it is often tempting to aim for high production values with elaborate visuals, in practice the simpler approach is better for communicating concepts or instructions. Keeping it simple reduces the cognitive load, which helps to reduce distraction and to direct attention to learning.
First, you need to identify the purpose of your video – ask yourself: what type of video? Is it an instructional video? Who is it for? Are your audience Beginners, intermediate or advanced? How long should your video be? Where or how will it be consumed? – these considerations should give you some ideas about how to approach the question of Engagement and delivery style and what teaching materials you will need to support learning.
It would be easy take these questions for granted. However, a question like ‘how long will the video be?’ can be crucial in determining if your video needs a script or storyboard, as well as the degree of planning required. If the video is twenty minutes or an hour-long, delivered by talking to the camera, then the need for planning, scripting, or storyboarding, will at most be minimal and, if you enjoy ad-libbing, may not be required at all. You may find that a list of teaching material is all you need. On the other hand, a shorter video (four to five minutes) will often benefit from the structure and direction provided by a storyboard and script.
Quick Tips
- Get everything down on paper
- Plan and prepare your materials in advance to save time later
- Simplify and chunk it up
- Check to see how it flows
- Try rearranging but keep it fluid
- Keep focused on the learning material
Planning/storyboard activity
For our planning activity think about the design process and the types of questions described above. Decide on a simple video project that can be used to work through the pre-production planning. For example, you may want to record talking to the camera and have a cut away to an illustration and then continue with the recording of talking to the camera – simple. However, this simple video will have several elements.
Consider the following:
- Title slide or image
- Will you break up the video footage with chapter headings?
- Transition to video footage
- Transition from footage to the illustration
- Do you need to ‘zoom in’ on the illustration?
- Does the illustration need annotation?
- Voice over audio continuing to explain the illustration.
- Transition back to recorded footage. Final transition for the end
This is still simple and is an example of where a list is probably all you would need to organise the video. However, if you include more illustrations or diagrams and add another clip, then there are a lot more elements to keep track of – and that’s when you need a storyboard.
We have provided our storyboard template, which was used in the example above by Stephen watt. However, feel free to use whatever storyboarding method works best for you. You may prefer to use Power point. Power point is useful for organising material into a sequence and there are power point templates for storyboarding. Alternatively, you may want to just free hand your storyboard, this is the most direct method if you are sketching out ideas.
Once you have decided on your video project, choose a storyboard method, and work through your ideas, visualising how the video will play in sequence. A useful warm up exercise is to jot down some ideas as sketch note drawings.
This is a work in progress and may go through several design passes. You may, for example, be designing your teaching material at this stage, but you can still rough out your ideas with simple drawing, which can help to develop your teaching material as well as your storyboard. Remember it is not about the quality of the drawing but getting your ideas over as directly as possible.
References
Mayer, R. E. (2009). Multimedia learning (2nd ed.). Cambridge, England: Cambridge University Press.
source
https://ctl.wiley.com/principles-of-multimedia-learning/

For anyone interested in looking at Mayer’s book on multimedia learning there is an electronic copy in the University Library.