Introduction
In this section we will cover basic editing principles, while trying not to focus too heavily on any specific program, focusing instead on the similarities between various platforms and core principles when editing. We will also keep central how you can use the editing process as another opportunity to maximise the effectiveness of your educational video content. We have all fallen prey to some of the techniques that video makers use to keep us engaged in their content, a countdown list or a promise of a reveal of a certain fact, so let see if we can utilise the editing process to help keep the focus and the engagement of the learner.
The Timeline
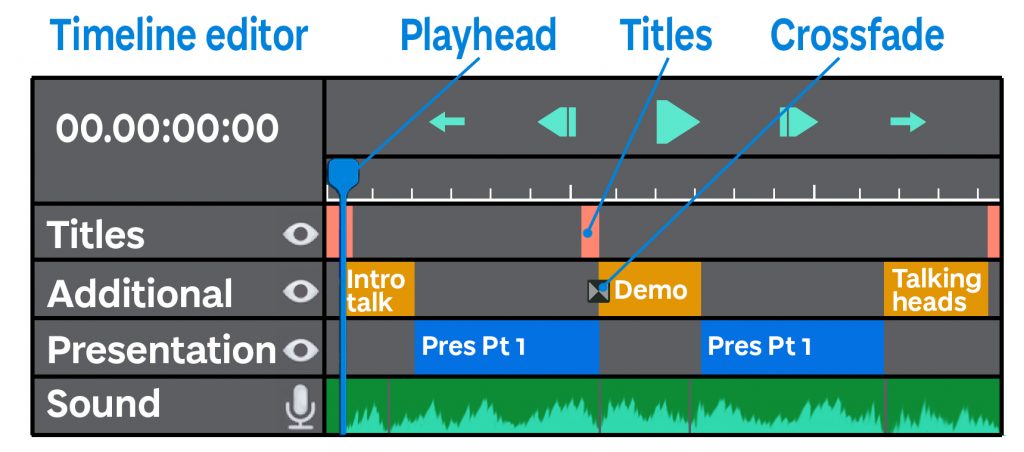
The timeline brings together all the content that you have you have been developing when making your educational video project, it is almost like your storyboard coming to life and the timeline interface is a key part of any editing program. This enables authors to lay out a video project in a linear fashion horizontally across a monitor. Depending on the software the timeline usually consists of blocks of footage laid out sequentially. Typically, these timelines have layers so that you can place content over the content below. Some software also separates the audio and the video into separate layers so that you can make alterations to them independently if needed.
7 steps to video editing
#1 Organise your files
Import and organise your files just as you would in normal practise. This may just take the form of bringing all the raw footage and graphics into one location or you may, depending on the complexity of your recording, want to further separate individual folders into sections. It might also be useful to adopt a naming convention: so for example, a visual aid of a frog in section 1 could be ‘frog_VA-1.jpg’
#2 Watch your footage
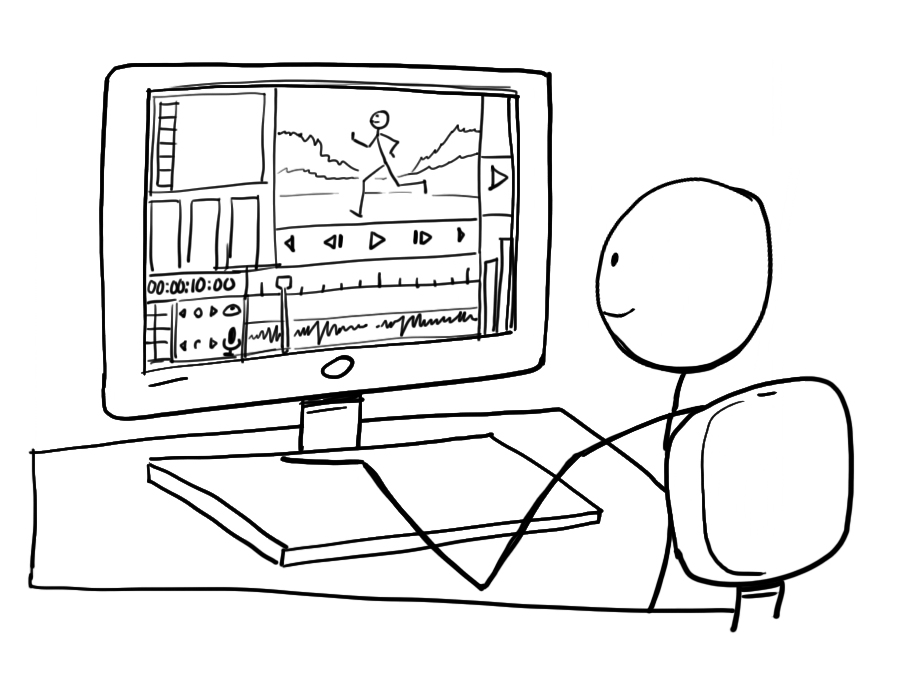
If you have multiple versions, this is a good time to review your footage and to familiarise yourself with the content so that you can select the best takes and shots.
#3 Begin to edit
Roughly place your content out on the timeline, organise all your best takes and assets in sequential order on your timeline, this is called an assembly edit.
#4 Fine cutting
Cut the shots down, topping and tailing is basically just trimming a bit off the beginning and the end of your shots, this might be a pause, or you are setting up. You can also consider removing/cutting any longer pauses. Pauses are a good point for editing and setting up transitions, which will help the pace of the recording so that the student remains engaged. Adding transitions may be slightly more advanced, and should be used with cautiously, again they have the potential to distract the learner for the core message.
#5 Watch over
To help you to identify slower parts, watch over your complete video sequence. If you can, re-watch your video with fresh eyes. This allows you to have a fresh ‘take’ on the content and can also help you to identify areas that need further development or explanation.
#6 Build up your edit
Consider adding b-roll, title cards, and text call outs – important facts that you want to bring to the learners attention. Be mindful of the learner’s cognitive load and only include graphics, text, and animation that supports learning goals. For this reason, do not include decorative b-roll – this will just compete with the learner’s attention. Titles can be used as chapter points, and this can aid the learner’s control of the video.
Remember to layout all your titles in a separate layer so that you can overlay the tile on the relevant footage and can aid editing.
#7 Export and upload
When you export from your video editing program you will commonly be given the options as to the format and the quality. Fortunately, YuJa (the university of Dundee’s video management platform) will allow you to upload multiple video file formats so this should not be a concern, MP4 is common file format to export to. In terms of quality, it is a good idea to check that you are exporting at a high bit rate and file size, 1080 HD.
Links to editing resources
- LinkedIn Learning playlist for UoD staff: Video fundamentals for academics
- YuJa (the university of Dundee’s video management platform) UoD links: YuJa support page
YouTube links:
- Adobe Rush Vs Premiere Pro – Which One is Right For You?
- Adobe Premier rush :
- Adobe Premiere Pro
- OpenShot Video Editor Tutorial
- How to use Free Windows 10 Video Editor
- iMovie Basics: Video editing tutorial for beginners
- How to Make Video in PowerPoint

How do you edit your videos?
Let us know in the comments below how you like to edit your videos. There is a vast array of editing programs from basic to complex, for example, I have seen some great results using PowerPoint to capture and edit presentations. So please let us know what works for you, and it would be great to know if you would find a workshop focusing on editing as being a useful exercise.
